To get started, open the application on your dashboard and scroll to the Documents field. Or choose Documents from the Action drop down menu.

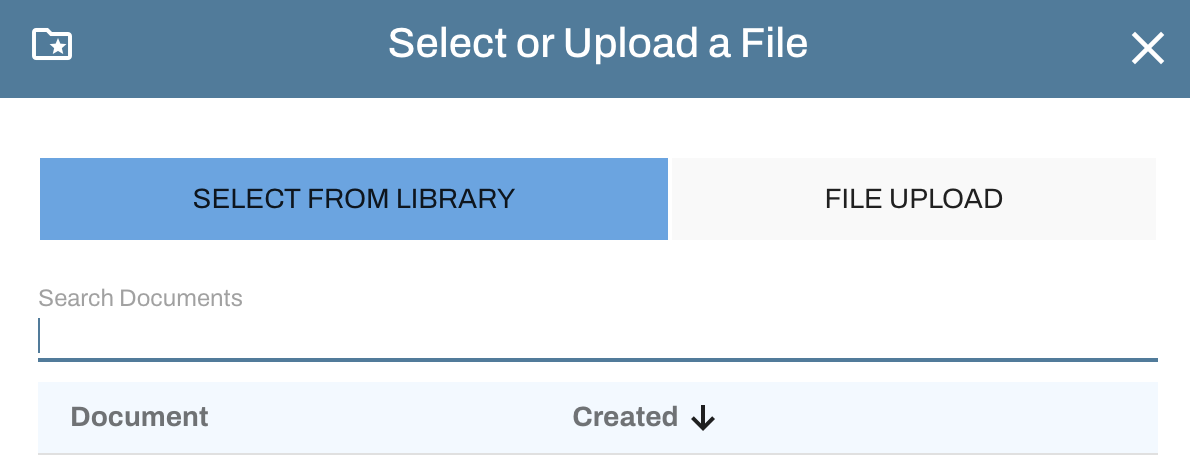
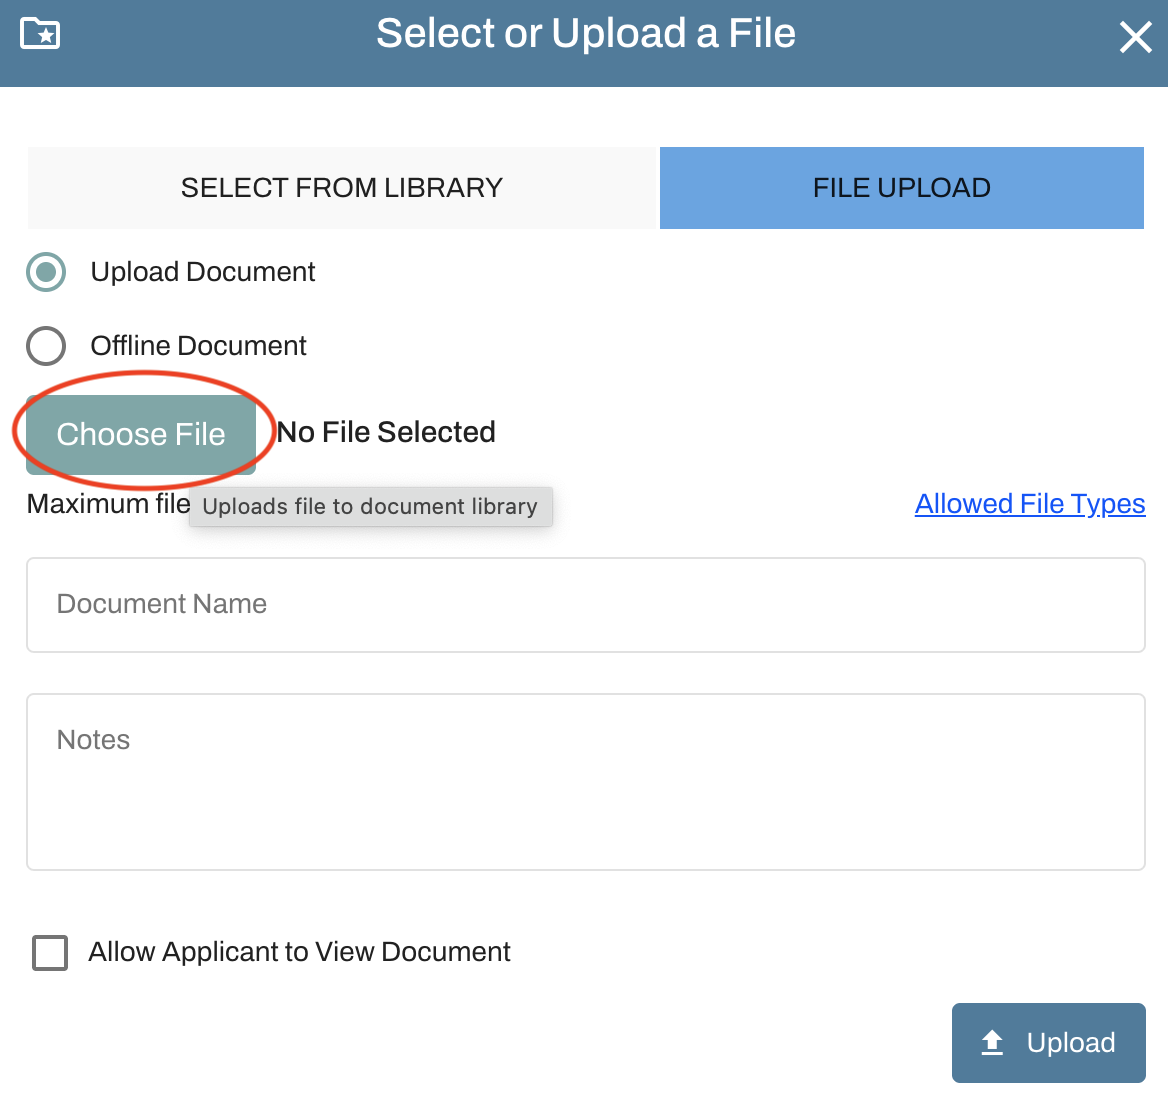
To add a document, you can select a saved file from your Document Library or upload a new file. Once the document has been added, be sure to save the permit application before refreshing the browser or navigating to another screen.
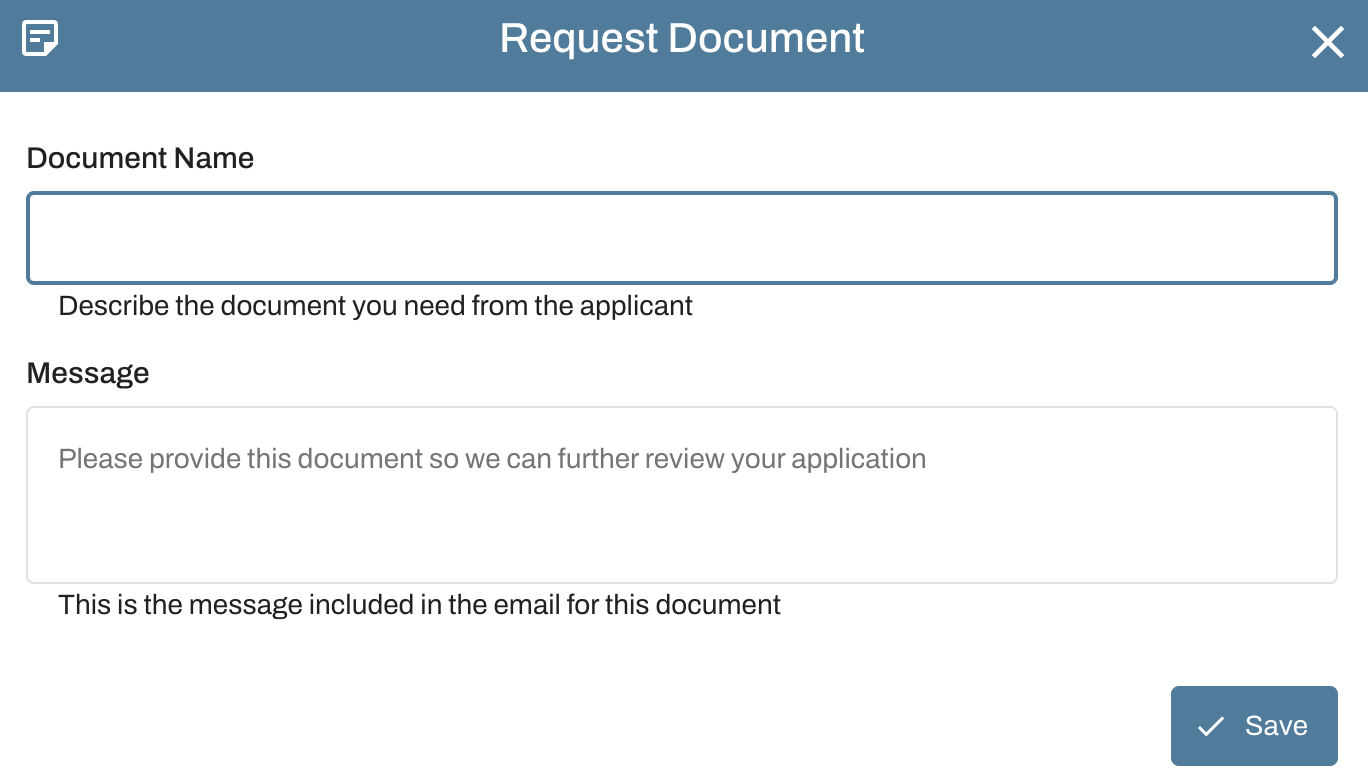
To request a document from the applicant, complete the onscreen prompts and click Save when done. Repeat this process to request multiple documents. Once all documents have been requested, save the permit application. The applicant will receive an email notification with your request and you will receive an email notification when the document has been added.
To manage documents submitted by applicants, click on the pencil.

You can add an expiration date and/or mark the document as approved by checking the box "Approve document for this application" box. This does not affect the application status, it is simply an indicator for which document(s) you'll be referring to and holding the applicant accountable for. For example, if multiple copies of plans are submitted you can mark the final plans "Approved" so the applicant knows the specifications you are allowing. Please note, approving documents is permanent.

IMPORTANT INFORMATION ABOUT DOCUMENTS:
Once documents have been added to an application, it automatically saves in your Document Library. They can be copied, downloaded, edited, and/or hidden within the Library.
The Document Library will NOT allow you to upload the same document twice, even if it has a different name.
Be specific when naming your documents. You are able to upload multiple documents with the same name.
Documents are limited to 10MB. Documents larger than 10MB will need to be split into smaller documents or zip filed.