Most municipalities require a mapped work location before the application can be submitted for review. When the map loads on the application, it will default to the outline of the municipality’s boundary.
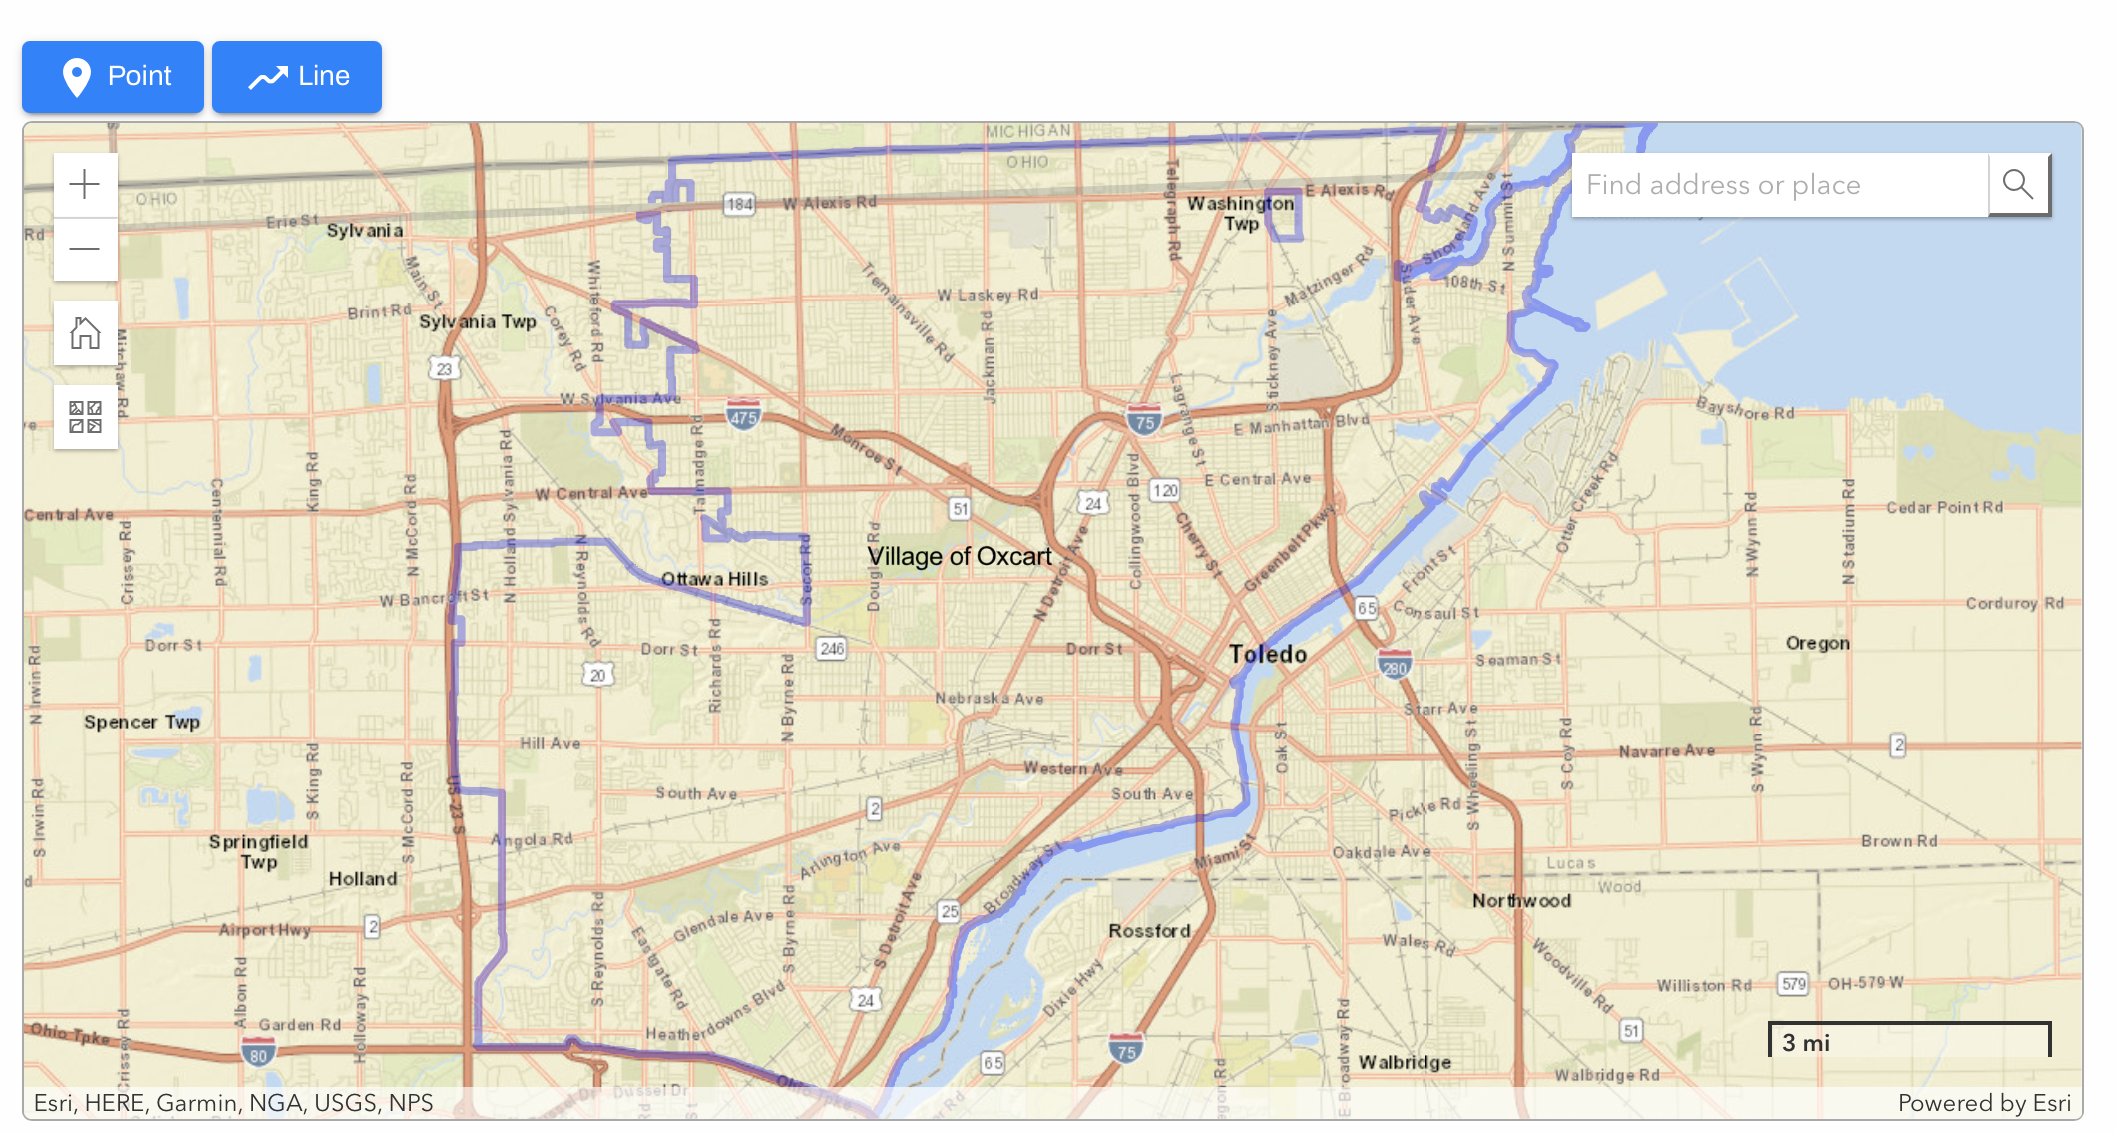
First, identify the work location on the map.
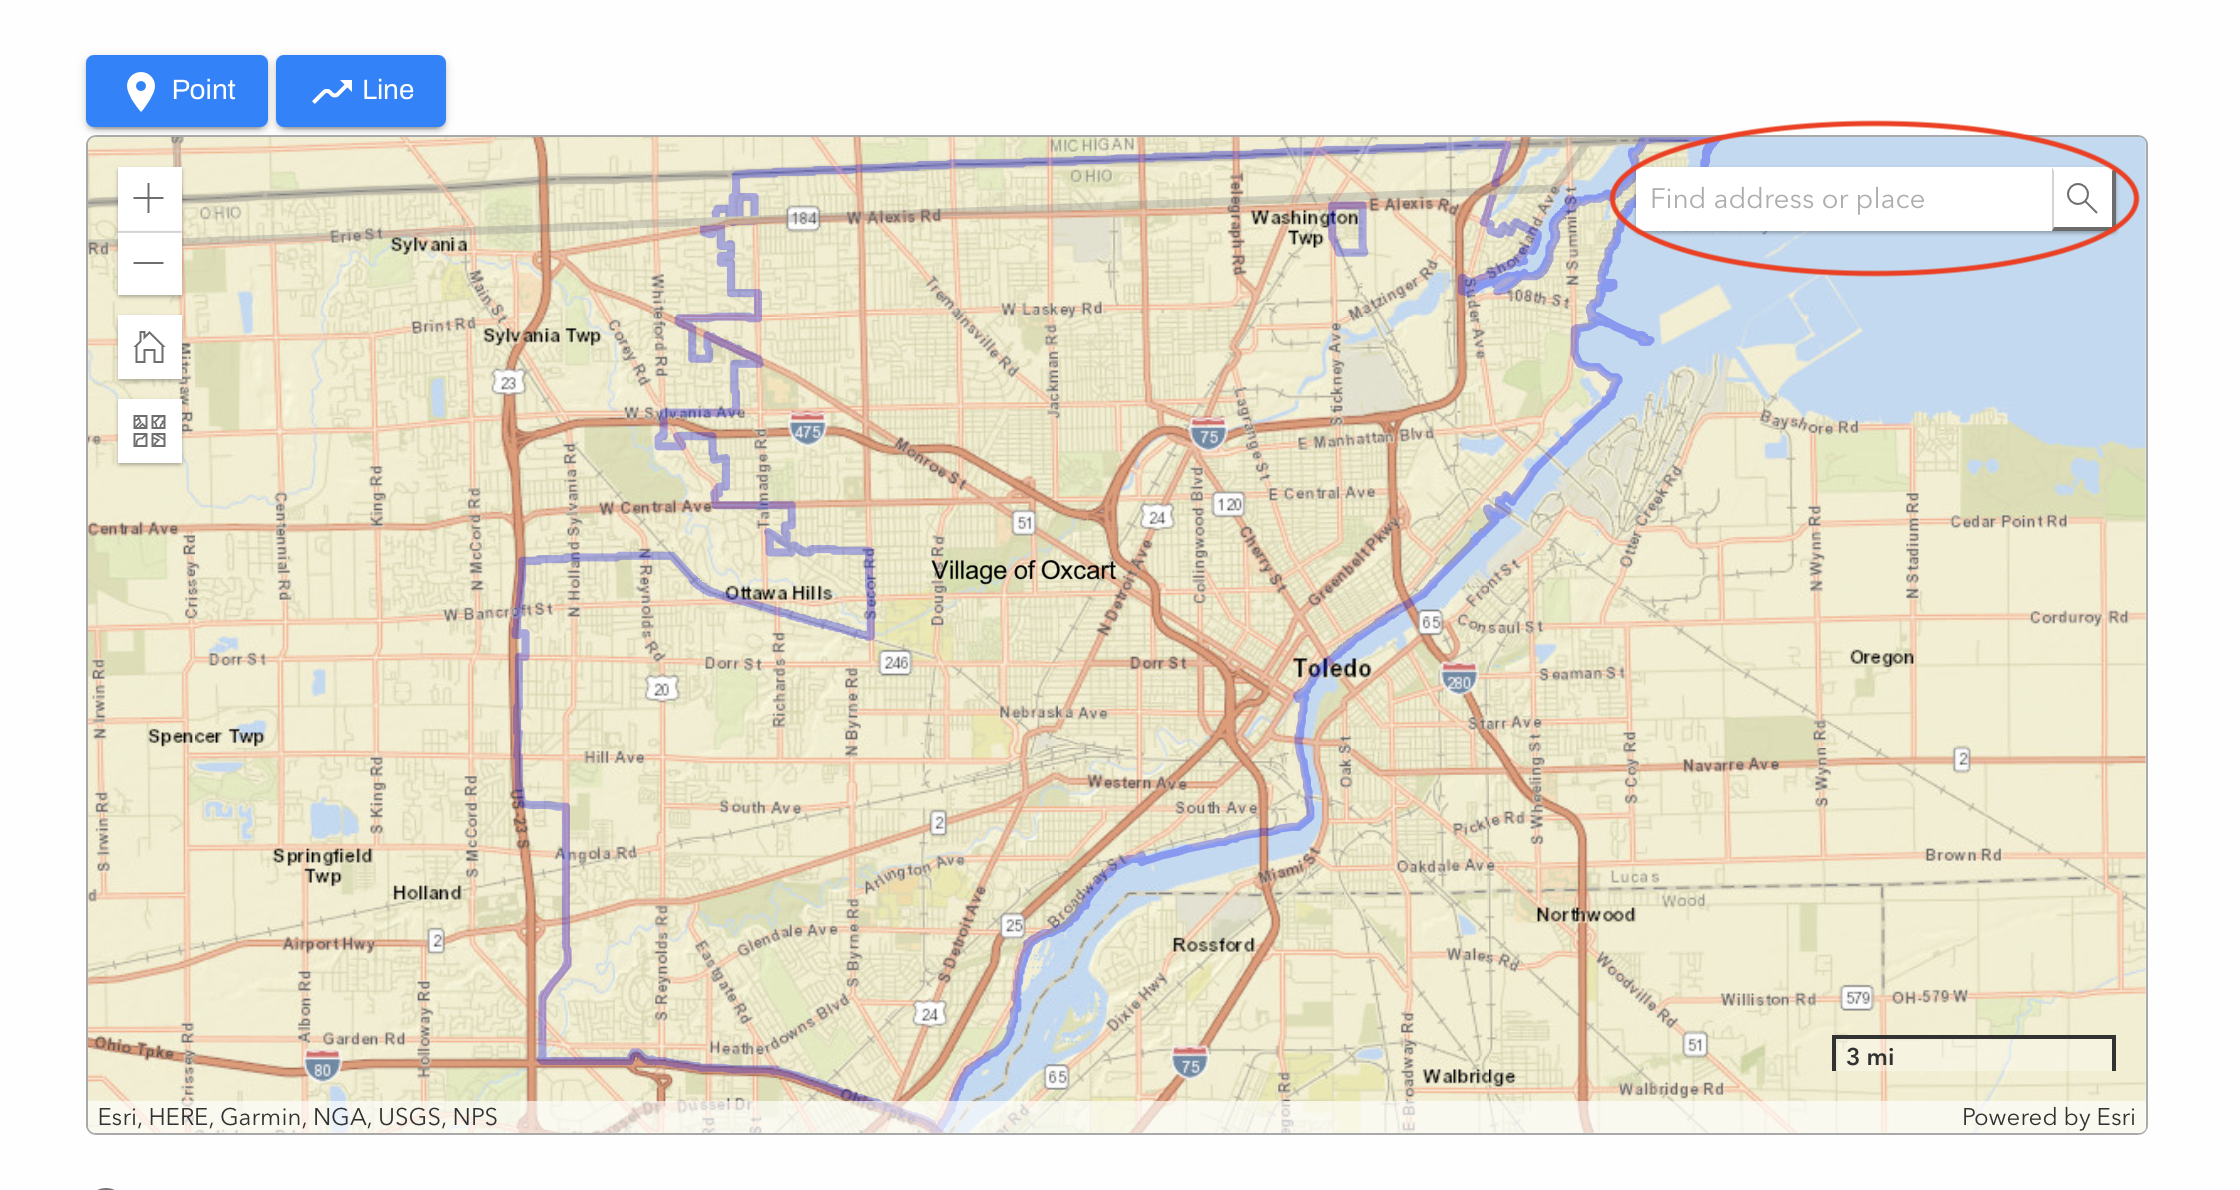
To focus on a specific location, type the address into the text box in the upper right corner of the map and select the verified address from the dropdown list. The map will then zoom in to highlight that area.
You can also manually zoom in on the map to identify the work area.
You can zoom in and out by clicking on the "+" and "-" buttons.
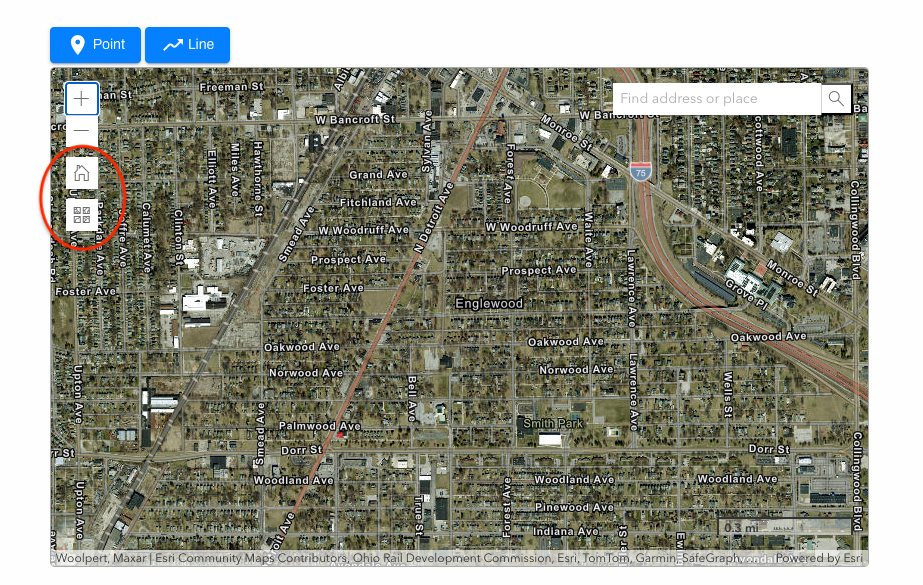
Clicking on the home button will reset the map to show the municipal boundaries.
When identifying a work location, it may be helpful to change the map layer, or map view. The bottom button in the column will allow you to choose between Streets, Topography, Imagery and more.
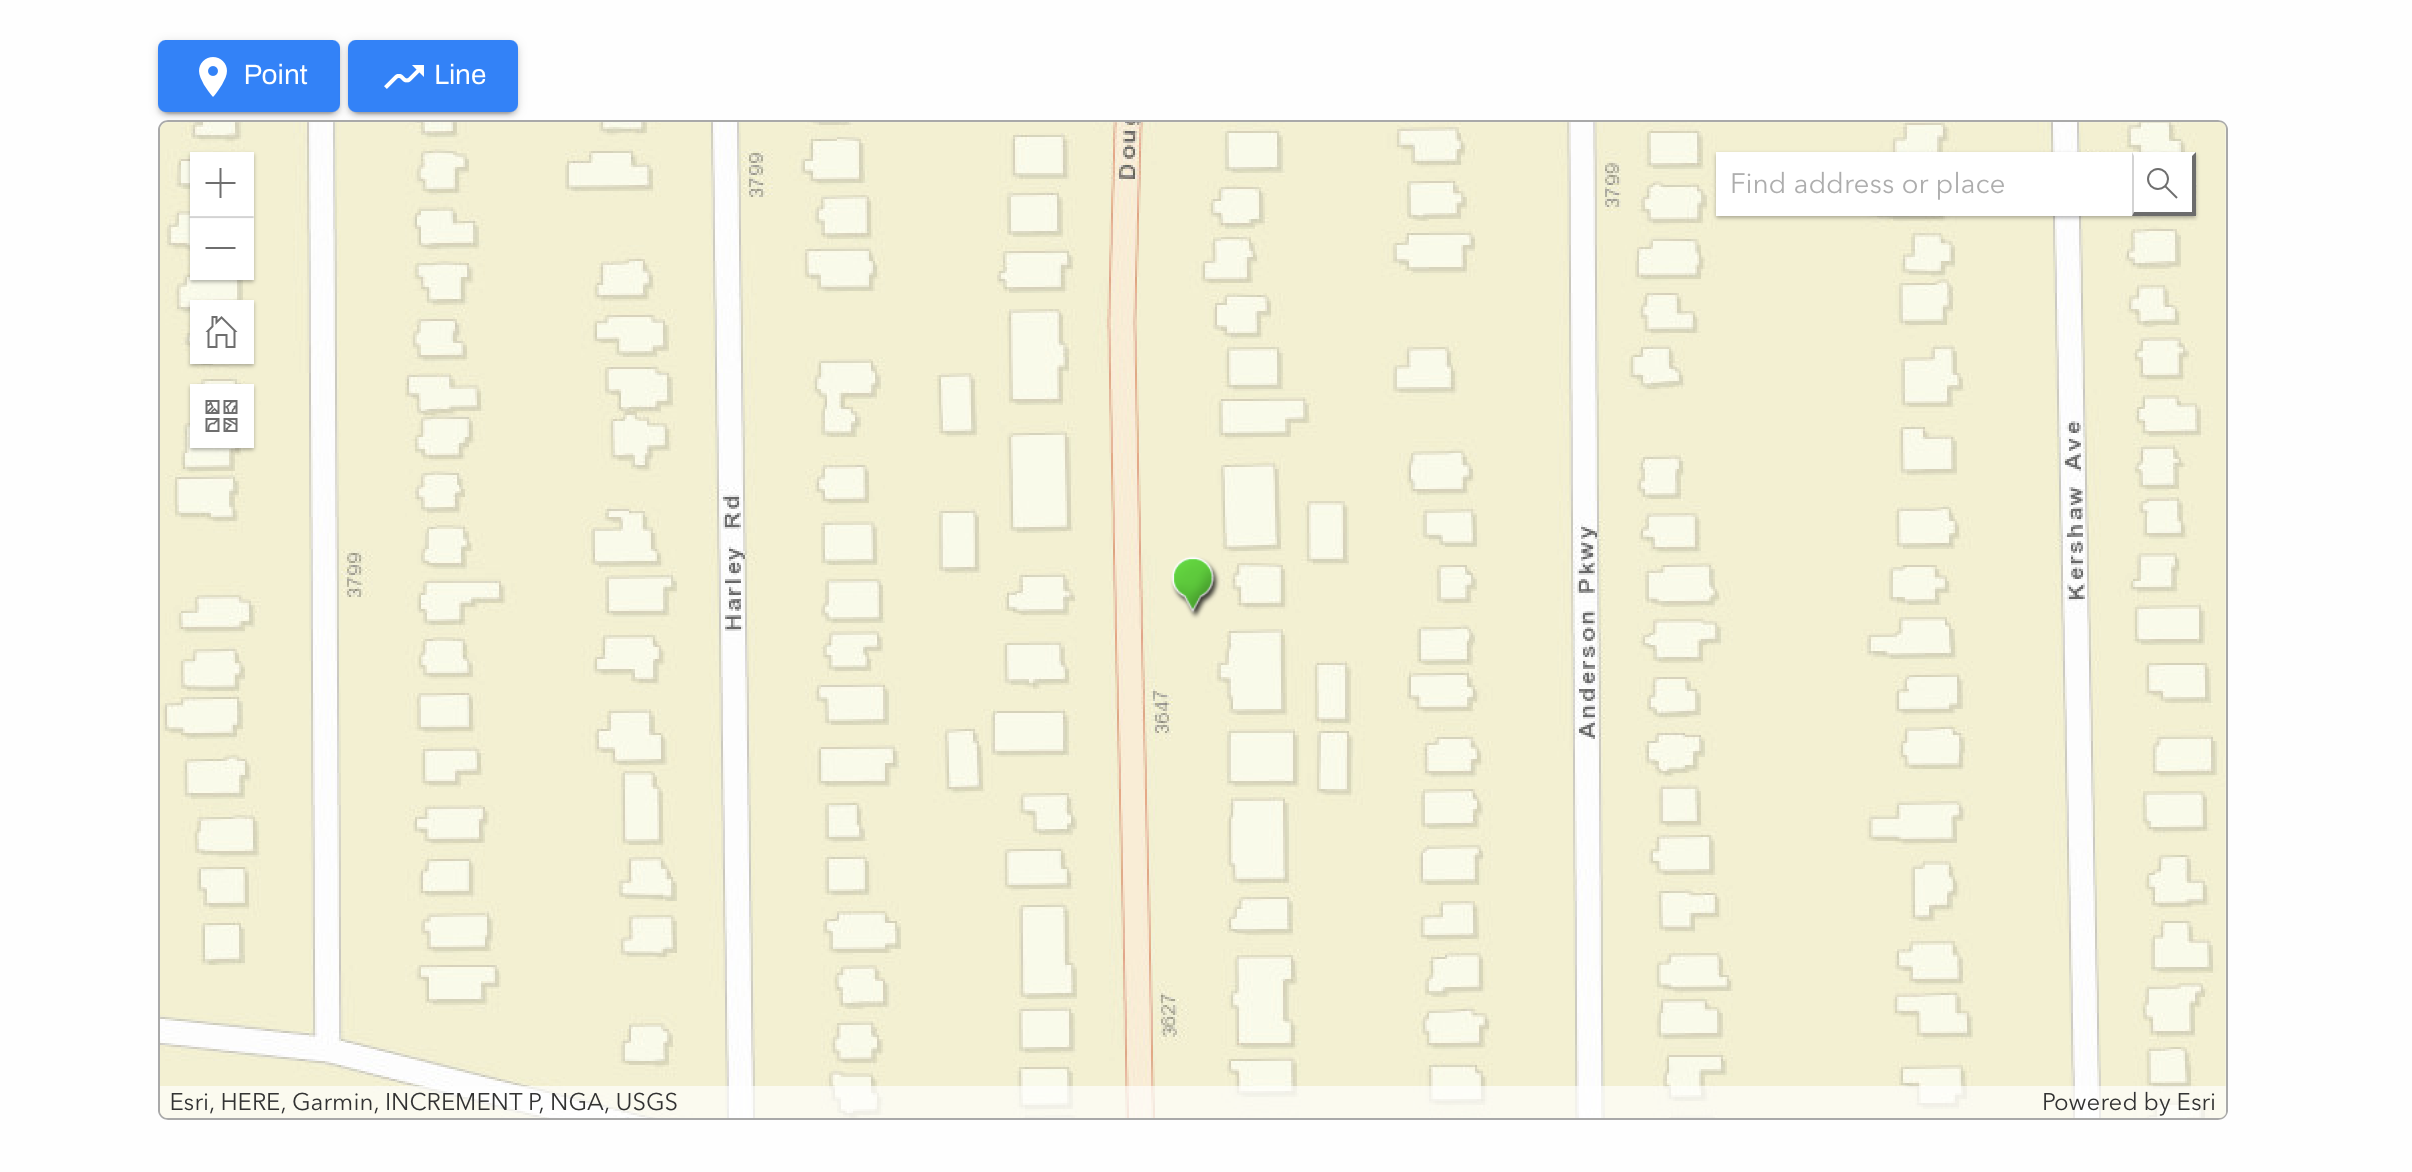
Next, indicate the exact location of the work by placing either a point or a line on the map. Be sure to zoom in closely to avoid accidentally marking areas like fields or parking lots.
To place a "POINT": Click on the "Point" tool, then click directly on the map to mark the desired location.
To draw a "LINE": Select the "Line" tool, click once on the starting point on the map, drag the cursor to the endpoint of the work location, and double-click to finish drawing the line. If you've made a mistake, click on "Line" to start over.

IMPORTANT INFORMATION ABOUT THE MAP FEATURE
All proposed work locations must be approved by the municipality.
The map does not prevent work locations being placed outside the municipal boundary. Applicants should make every effort to ensure work locations fall within the appropriate municipal boundary.