The Special Conditions feature enables municipal administrators and managers to pre-load commonly used or repetitive conditions that may apply to multiple, though not all, permits.
For instance, if certain vehicles are allowed to cross a specific bridge, but only under the condition that they maintain a speed limit of 25 mph, this condition can be stored in your account. Since not every permit involves that bridge, the condition can be selectively applied during the approval process.
These saved conditions can be stored to your account, eliminating the need to retype them for each new permit application. Special conditions can also cover unique or unforeseen requirements that aren't saved to your municipal account. These are entered manually on individual permit applications when needed.
All conditions—whether selected from the library or manually added—will appear stacked above the standard, pre-programmed provisions on the final PDF permit.
TO MANAGE SPECIAL CONDITIONS:
1. Login to your municipal administrator account.
2. Hover over Manage at the top of your dashboard and select Special Conditions from the dropdown menu.
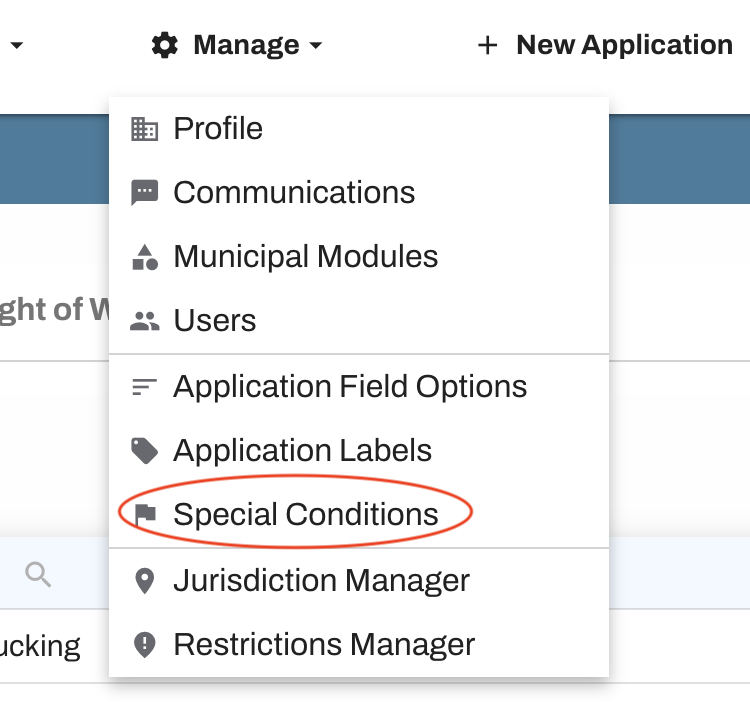
3. Special conditions can be customized for each permit module. If your account includes multiple modules, be sure you're viewing the correct module tab before selecting "Add Special Condition."

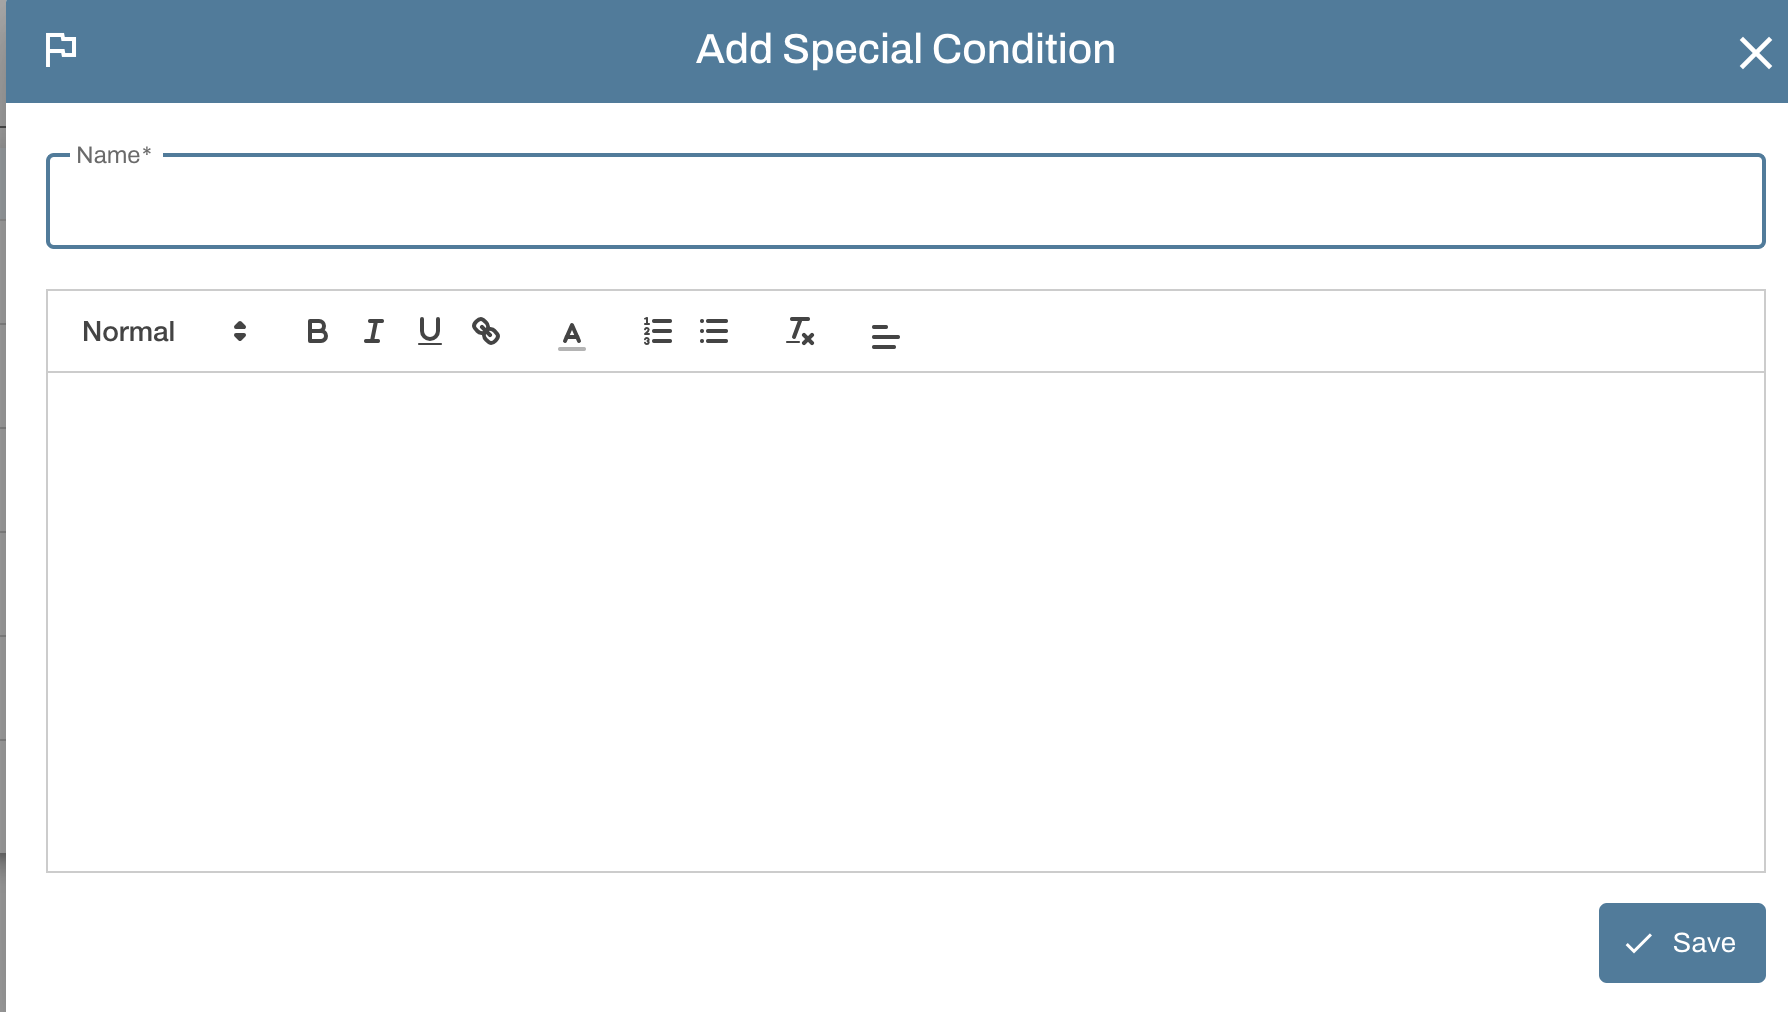
4. Give the new condition a name, then use the editor box to add the text you would like to appear on the permit when this condition is chosen. When you are done, click the Save Special Condition button. Repeat this process as many times as needed.
TO ADD CONDITIONS TO A PERMIT:
Each time you approve a permit, you will have the opportunity to add one or multiple conditions. You can also manually type/add special conditions to each permit in addition to any saved conditions.
To add a saved condition:
Open a permit for review by clicking the Action button from your dashboard and selecting Approve/Deny.
Scroll towards the bottom of the application to the Special Conditions section. Click in the box "Select Special Condition to Add" to see the list of saved conditions on your account.

Select your desired condition and hit "Insert". You can add more than one if needed.
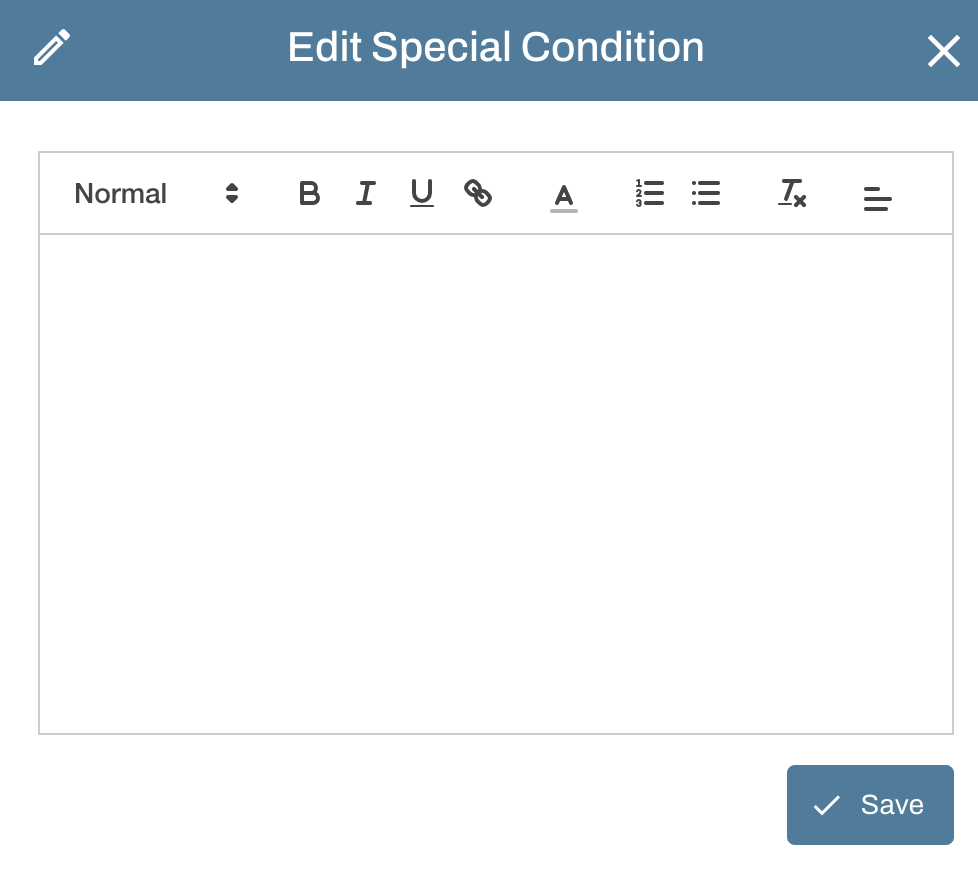
Once added to the application, conditions can be edited by clicking the pencil icon. If needed, you can also click on the trash can icon to remove the condition.
Be sure to save your application when you are finished!
To manually add a condition:
Open a permit for review by clicking the Action button from your dashboard and selecting Approve/Deny.
Scroll towards the bottom of the application where you will see the Special Conditions section. Select a saved condition or select Manual Entry from the dropdown menu and click Insert.

Type in your condition and hit Save when done. Repeat this process as many times as necessary.
Be sure to save your application when you are finished!
IMPORTANT INFORMATION ABOUT CONDITIONS:
Conditions entered manually on applications will not be automatically saved to your account.
Conditions will automatically transfer to subsequent permit revisions.
Conditions are not transferred when a permit is cloned.
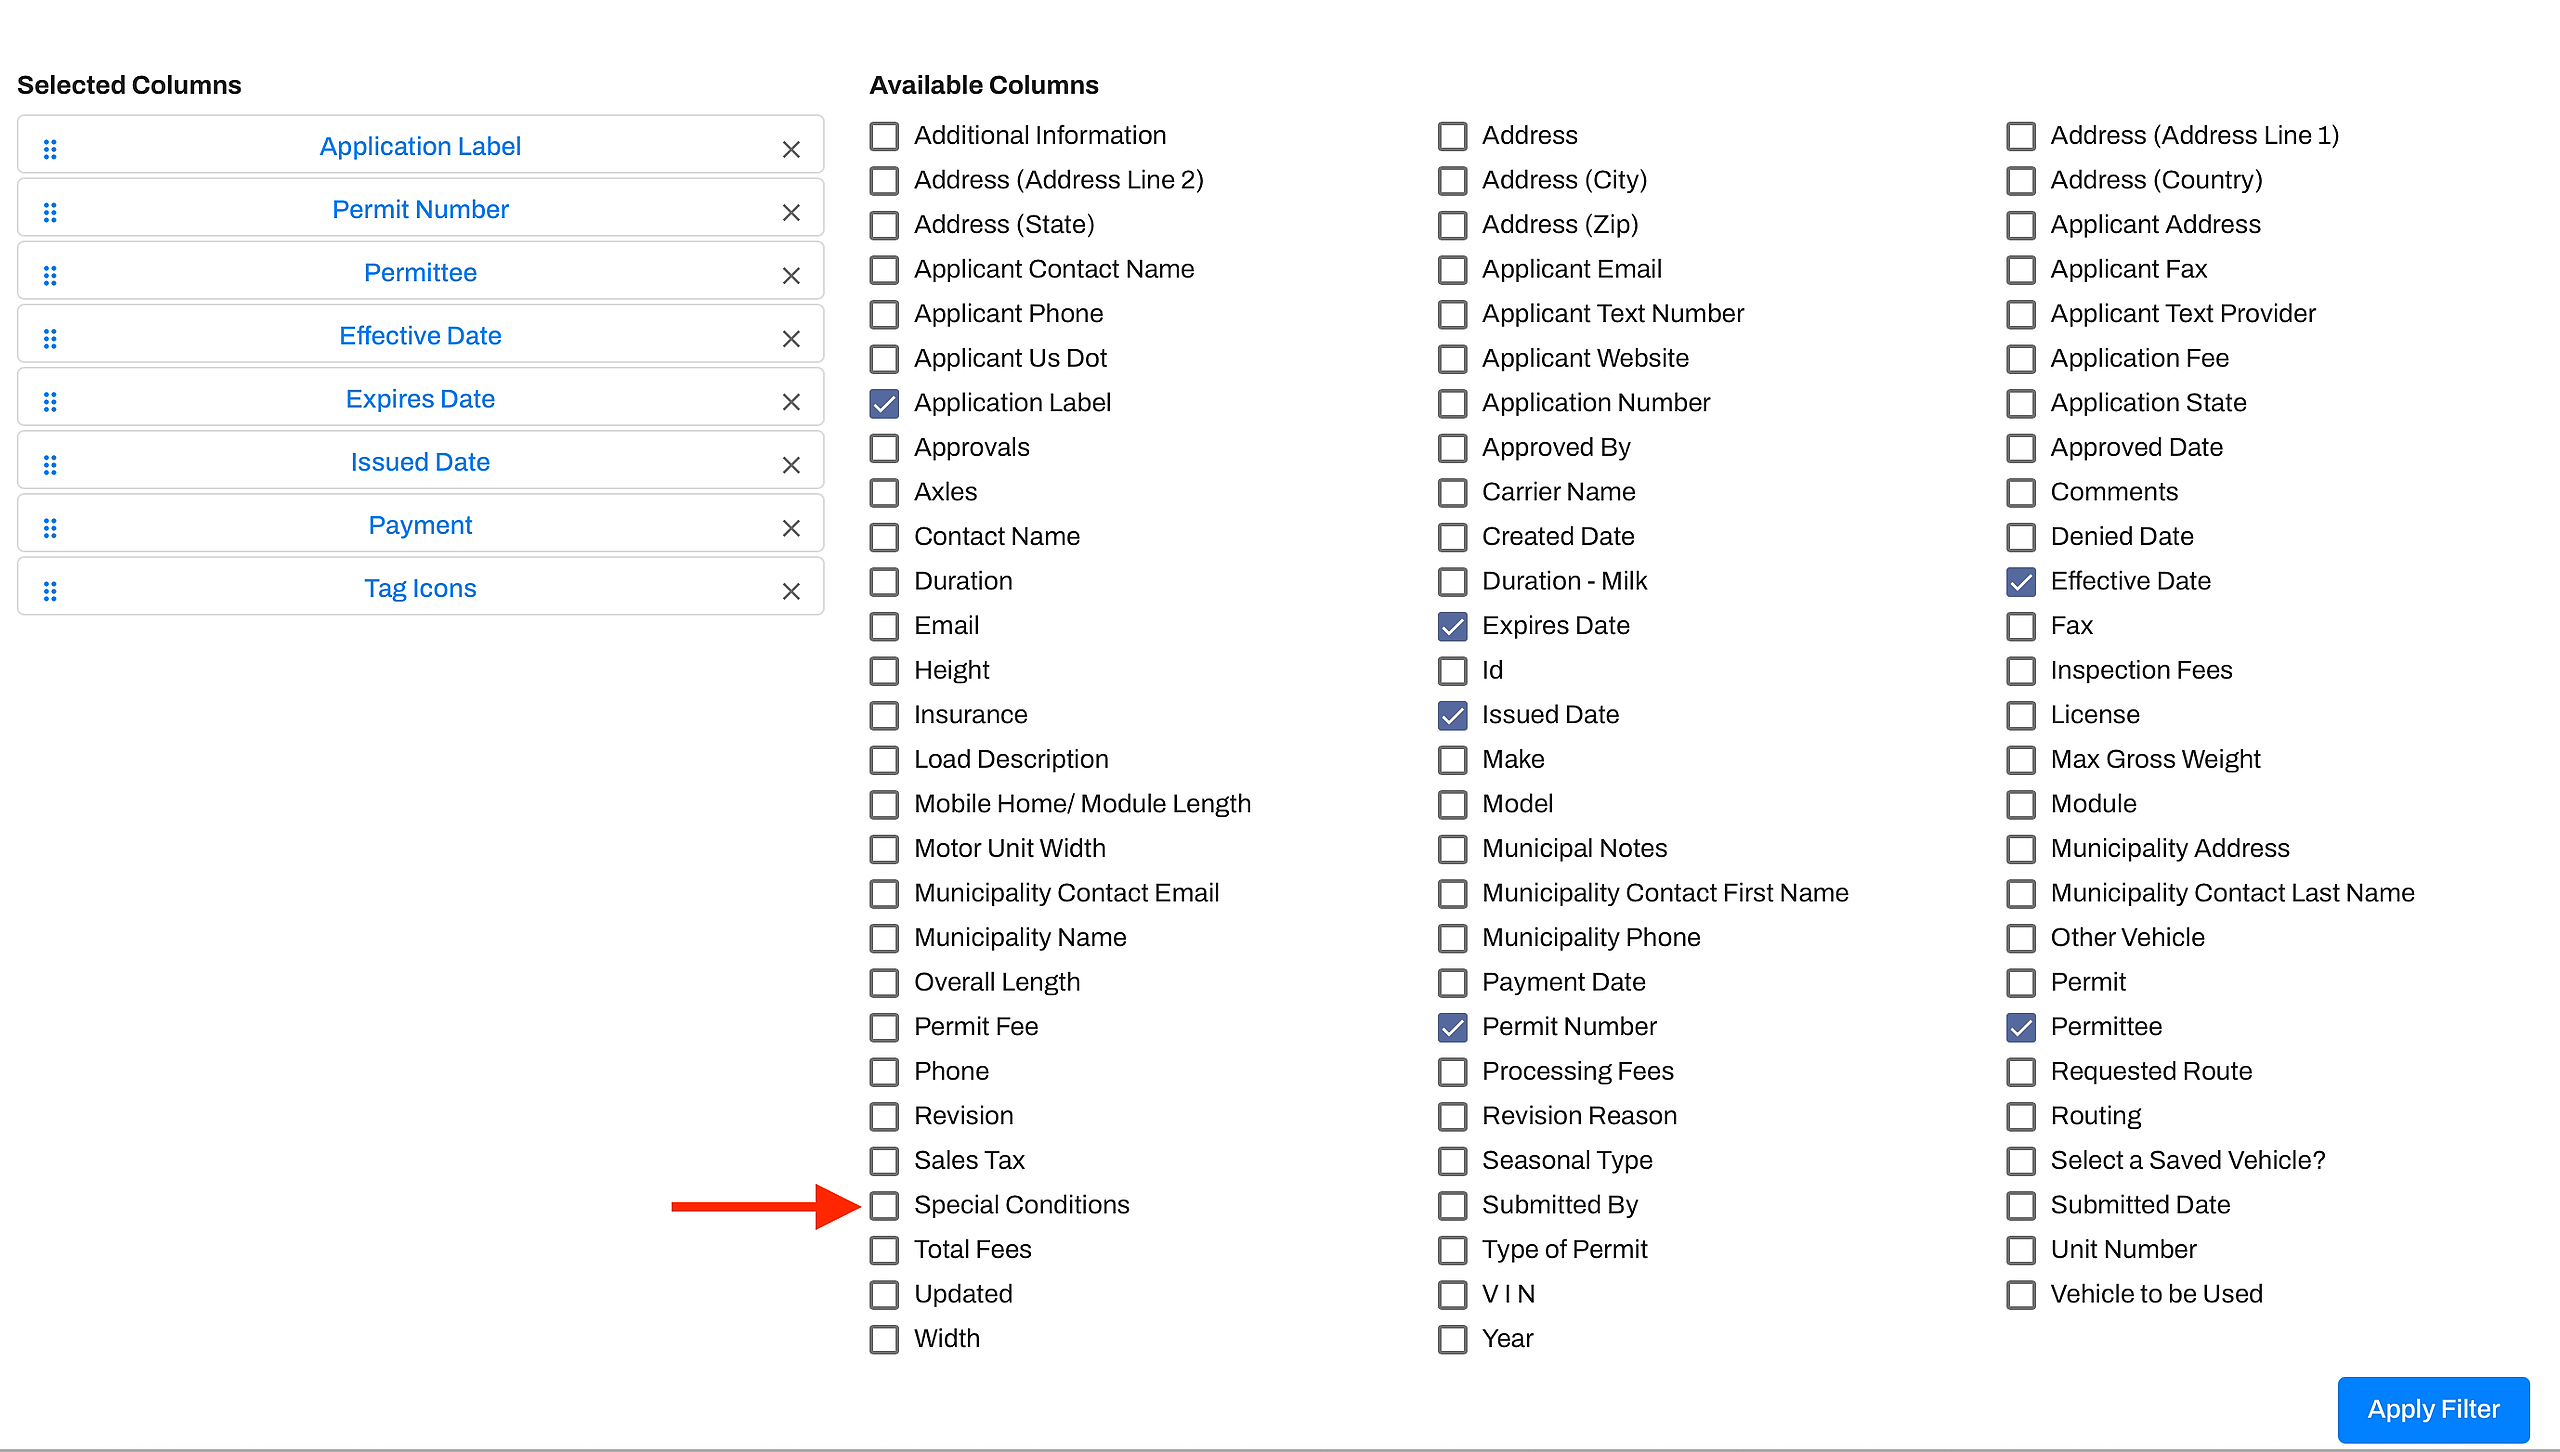
Conditions are searchable when reviewing past permits; just check the Special Conditions box when selecting filters.