An email address can be added for notifications by either adding an existing user email address or adding a new email address that is not associated with a user account. If your agency is using multiple modules in Oxcart, notifications must be configured per module. Only account Admins and Managers can add an email address to the Communications screen.
NOTE: If an email address is added, which is not associated with a user account, only an account Admin and Manager will be able to make changes. Because the owner of the email address is not a user, they have no access to Oxcart.
To add an email address for an existing user:
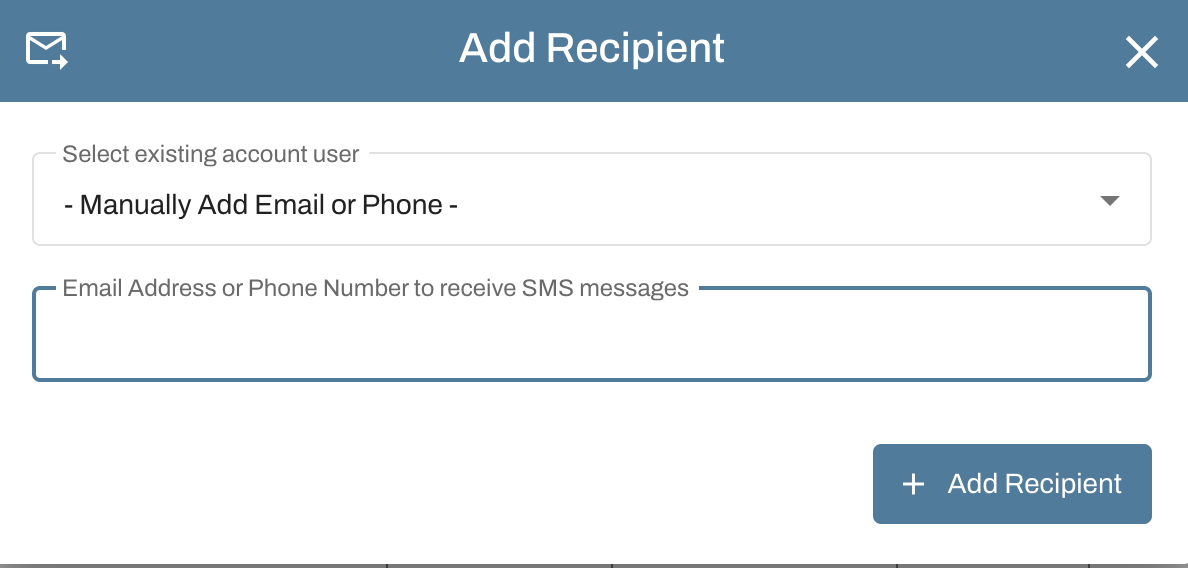
Click the blue Add Recipient button

A window will appear to allow you to either add an existing user email address or new email address to your account. Select one of the options and then click the +Add Recipient button
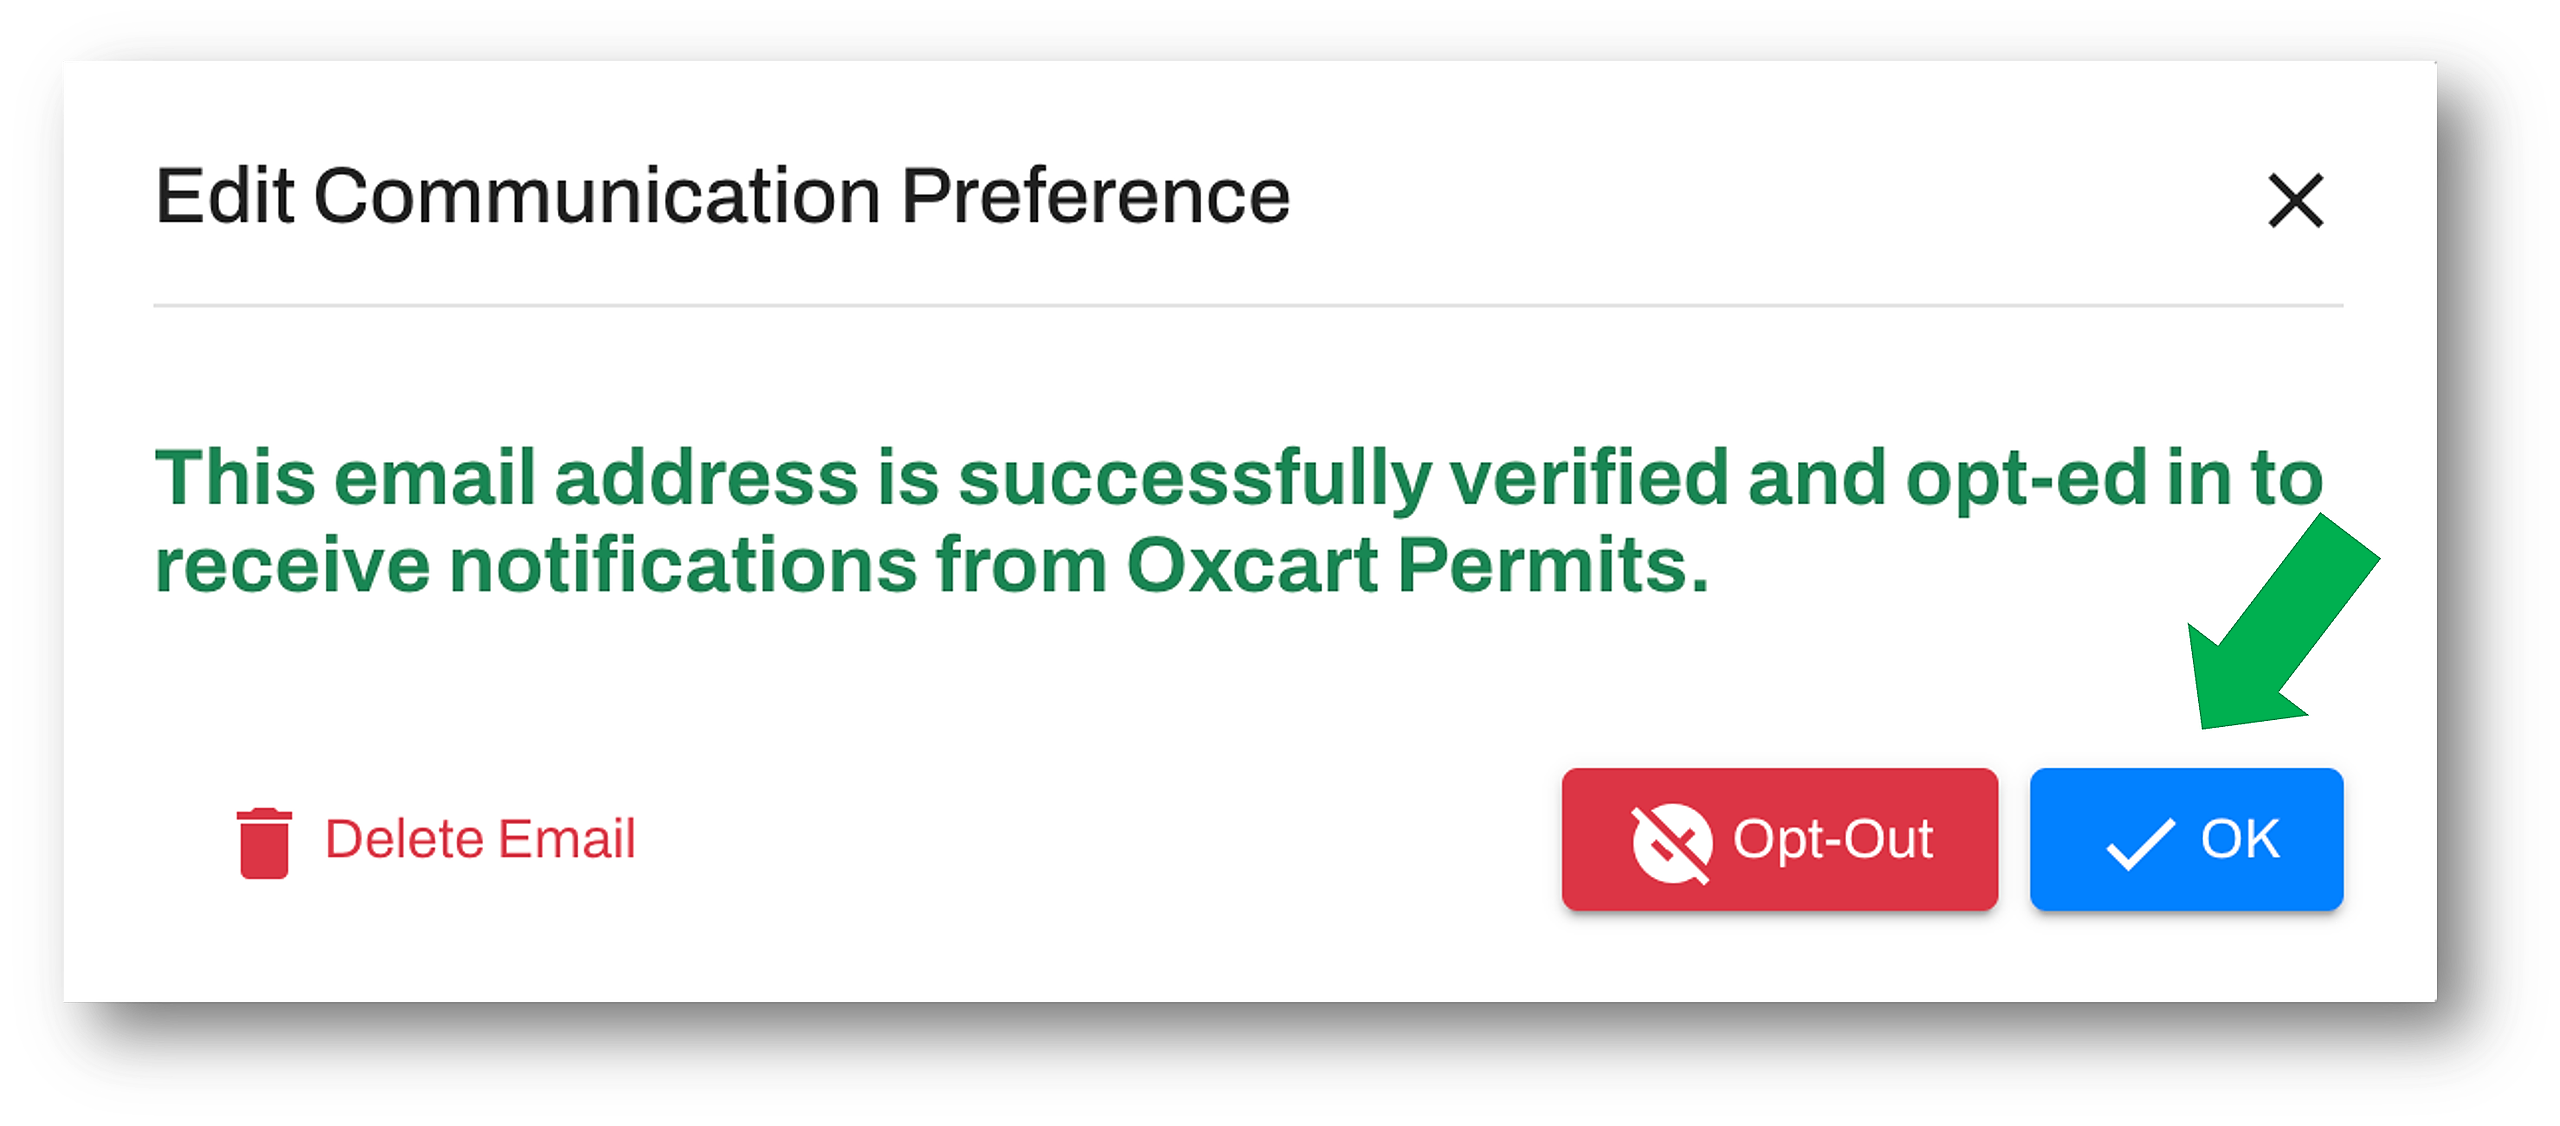
You will then receive a prompt that the user has been successfully added. Click the blue OK button and you can begin assigning notifications to the user by checking the desired boxes.
To add an email address that is not associated with an existing user:
NOTE: Be sure the owner of the email address has access to their email. They will be required to verify the email address by receiving a 6-digit, one-time-password (OTP).
Click the Add Recipient button

When the window appears, add an email address in the second text box and click the blue +Add Recipient button
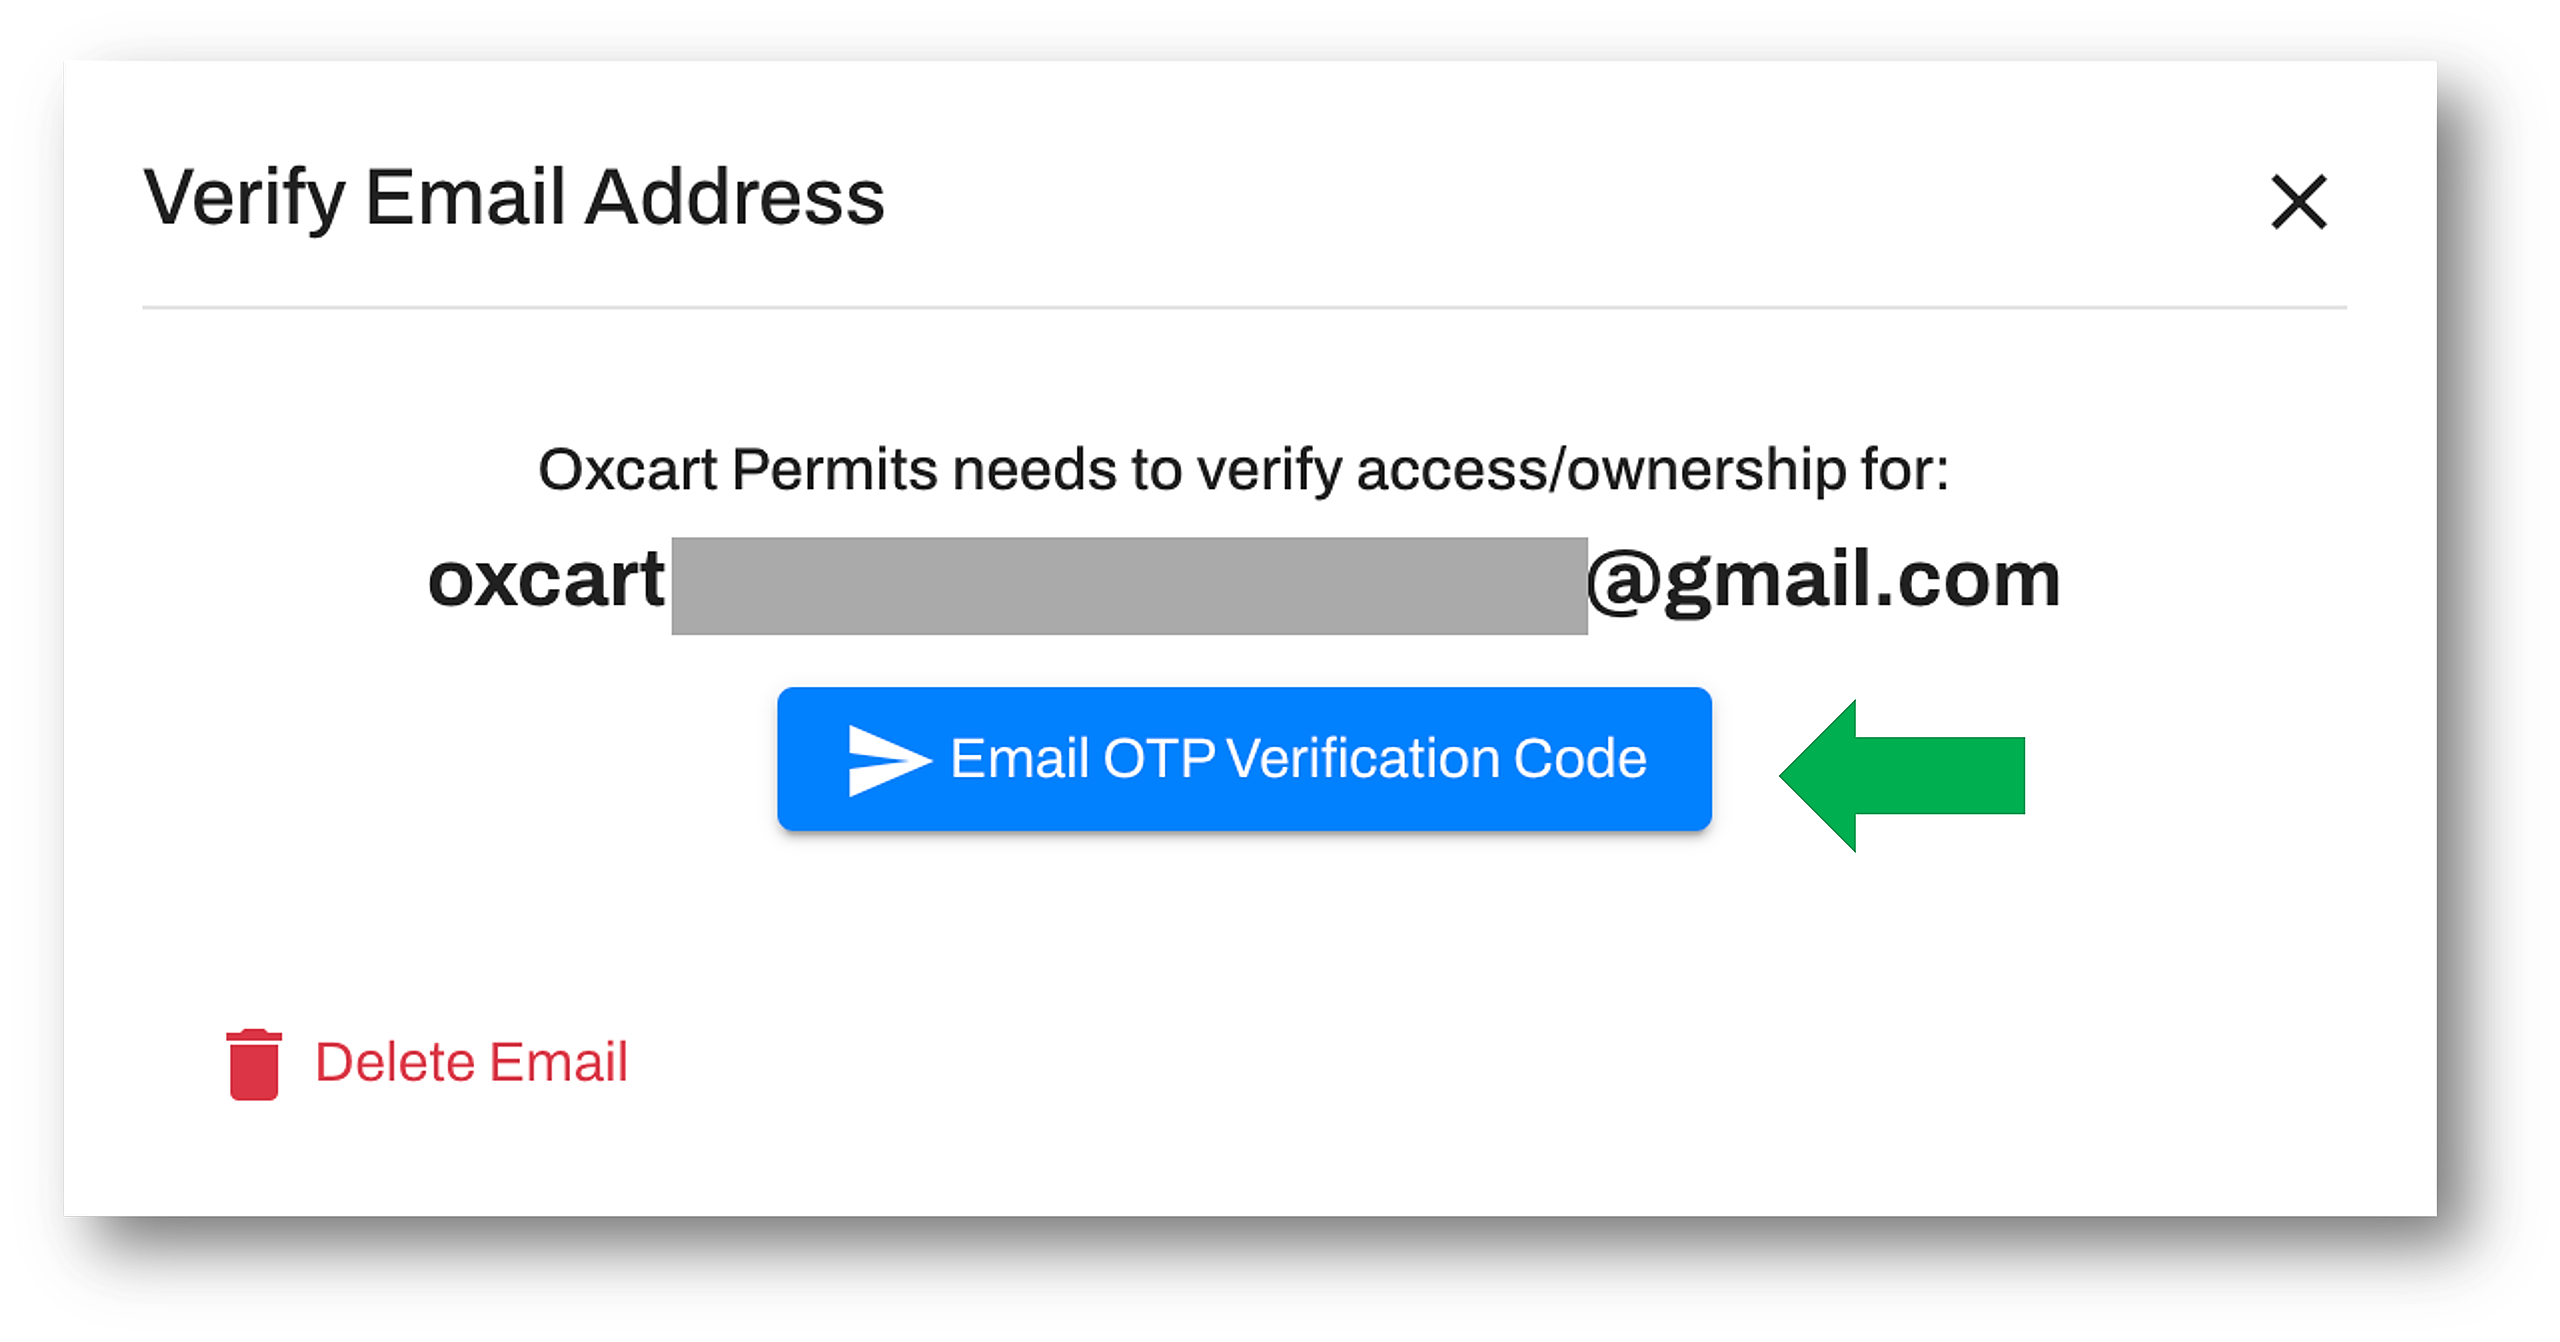
A window will appear to send the 6-digit, OTP verification code. Click the blue button to send.
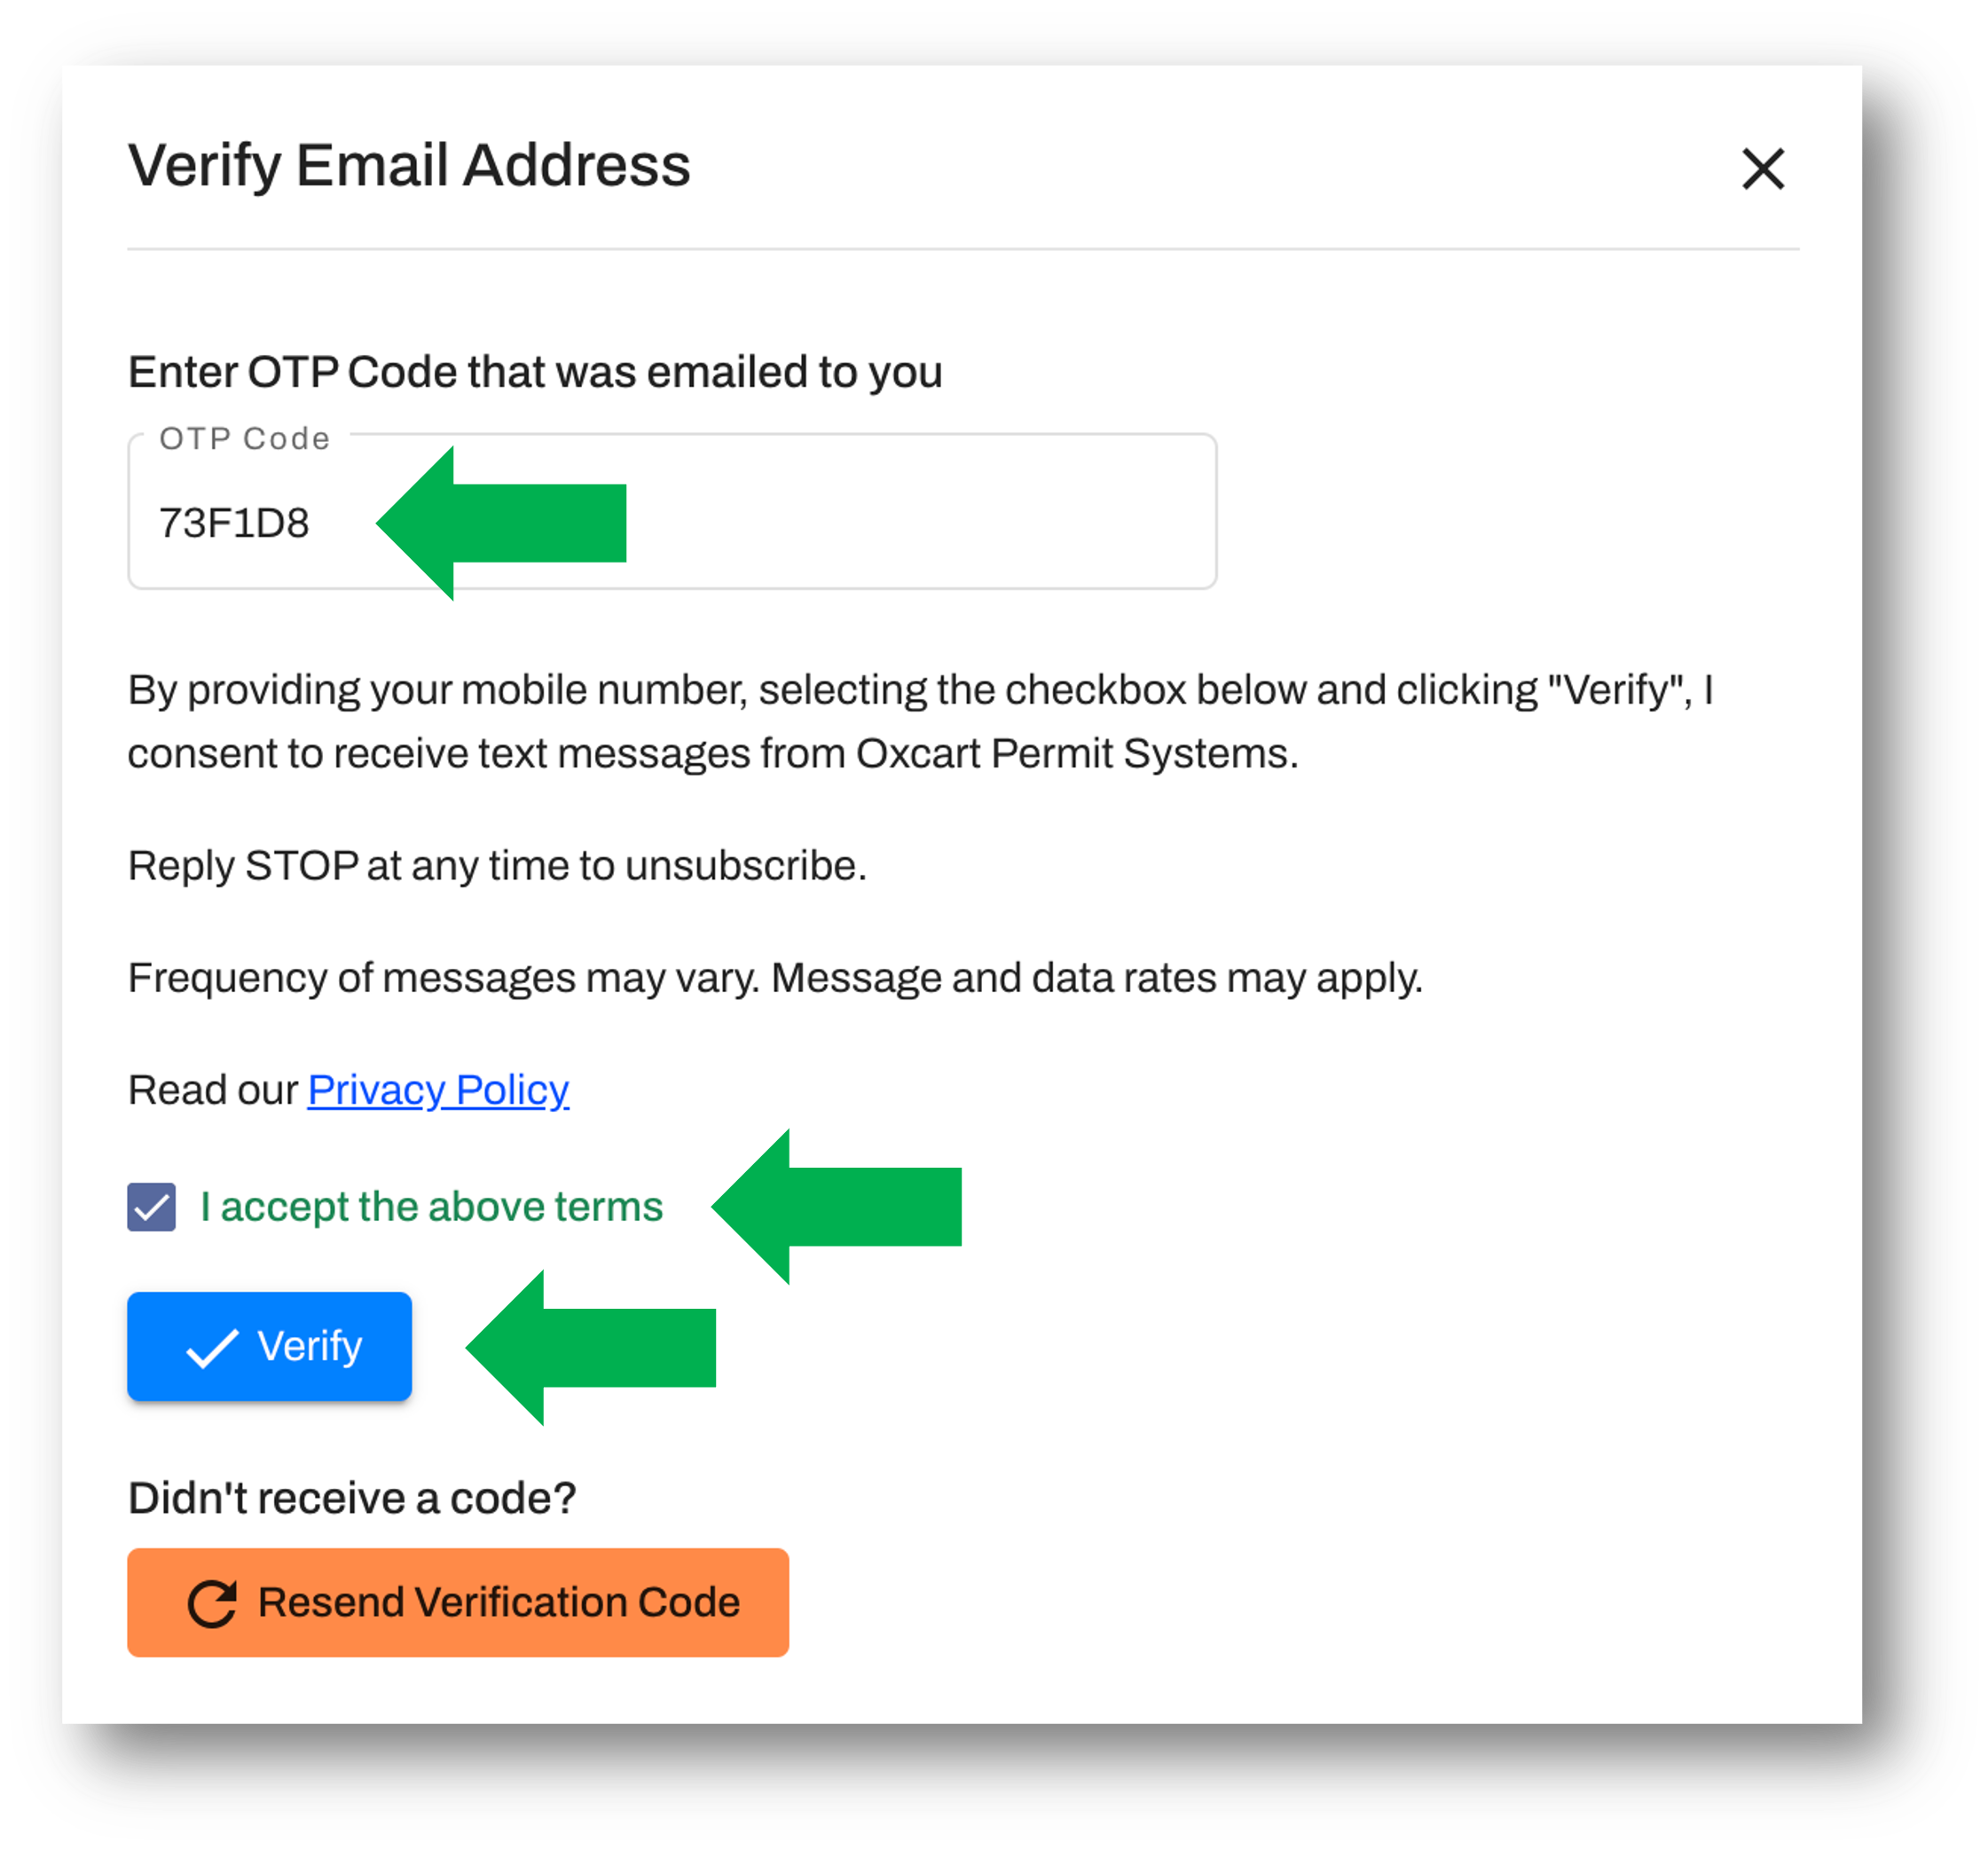
A new window will appear to enter the OTP verification code. Retrieve the code from the email account and enter it in the text box. The terms of the privacy policy must be accepted by checking the box. Lastly, click the Verify button.
You may now begin assigning notifications to the email address by checking the desired boxes.